
Introduction
Hi Everyone, Privacy, and security are of the utmost importance. With the rise of online threats, protecting your data and online activities is essential. GoodbyeDPI is a tool that helps you enhance your online security by blocking certain types of traffic that can be used for tracking or surveillance. This comprehensive guide will walk you through installing GoodbyeDPI on your Windows device, ensuring your online activities are safe and secure.
What is GoodbyeDPI?
GoodbyeDPI is software designed to enhance online privacy and security by blocking certain types of traffic that can be used for tracking or surveillance. It works by intercepting and modifying certain packets of data, making it difficult for third parties to monitor your online activities. GoodbyeDPI is particularly useful for users concerned about their privacy and who want to control their online security.
Step-by-Step Guide to Installing GoodbyeDPI
Installing GoodbyeDPI is a straightforward process that can be completed in just a few simple steps. Follow the instructions below to install GoodbyeDPI on your Windows device:
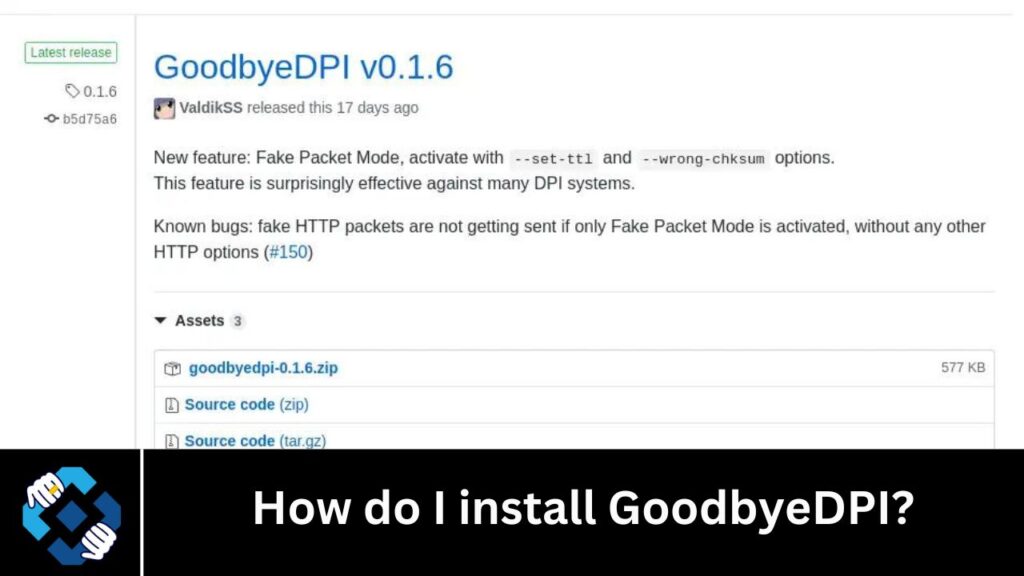
Step 1: Download GoodbyeDPI
The first step in installing GoodbyeDPI is downloading the software from the official website. You can find the download link on the homepage of the GoodbyeDPI website. Click on the download link to begin the download process.
Step 2: Install WinPcap
GoodbyeDPI requires WinPcap to be installed on your computer to function correctly. WinPcap is a library that allows applications to capture and transmit network packets. You can download WinPcap from the official website and follow the on-screen instructions to install it on your computer.
Step 3: Extract GoodbyeDPI
Once you have downloaded the GoodbyeDPI software, you must extract it from the downloaded zip file. Right-click on the zip file and select “Extract All” to extract the contents to a folder on your computer.
Step 4: Run GoodbyeDPI
After extracting the GoodbyeDPI software, navigate to the folder where you extracted the files and double-click on the GoodbyeDPI executable file to run the software. You may be prompted to allow the software to change your computer; click “Yes” to continue.
Step 5: Configure GoodbyeDPI
Once GoodbyeDPI is running, you must configure it to block certain types of traffic. Click the “Settings” tab in the GoodbyeDPI window to access the settings menu. Here, you can configure which types of traffic you want to block and customize other settings as desired.
Step 6: Start GoodbyeDPI
Once you have configured GoodbyeDPI to your liking, click the “Start” button in the GoodbyeDPI window to start the software. GoodbyeDPI will now begin blocking the specified types of traffic, enhancing your online privacy and security.
Conclusion
Installing GoodbyeDPI is a simple and effective way to enhance online privacy and security. Following the step-by-step guide outlined above, you can quickly and easily install GoodbyeDPI on your Windows device and take control of your online security. Stay safe online with GoodbyeDPI!